


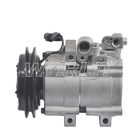
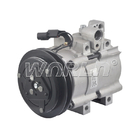
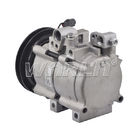
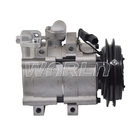
Auto A/C Car Parts Compressor 38810RAAA01 For Honda Stream For Accord For Element CM2 WXHD008

Contact Person : ling
Phone Number : +8618022350039
WhatsApp : +8618022350039
| Minimum Order Quantity : | Negotiable | Price : | Negotiable |
|---|---|---|---|
| Packaging Details : | Neutral packing /WNRLN packing/Customized packing | Delivery Time : | 10-30 days |
| Payment Terms : | Western Union, L/C, T/T, MoneyGram, PayPal | Supply Ability : | 50000pcs per month |
| Place of Origin: | Guangdong, China | Brand Name: | WNRLN |
|---|---|---|---|
| Certification: | SGS/ISO9001 | Model Number: | WXHY009 |
|
Detail Information |
|||
| Type: | AC Compressor | Car Make: | For Hyundai H1 For Starex 2.5TD |
|---|---|---|---|
| Voltage: | 12V | Compressor Type: | HS18 |
| Grooves: | 1A | Size: | Standard Size |
| Year Model: | 1997-2007 | OEM No.: | 977014A071/977014A300/977014A/977013E935/977014A020 |
| High Light: | automotive air conditioning compressor,auto air conditioning compressor |
||
Product Description
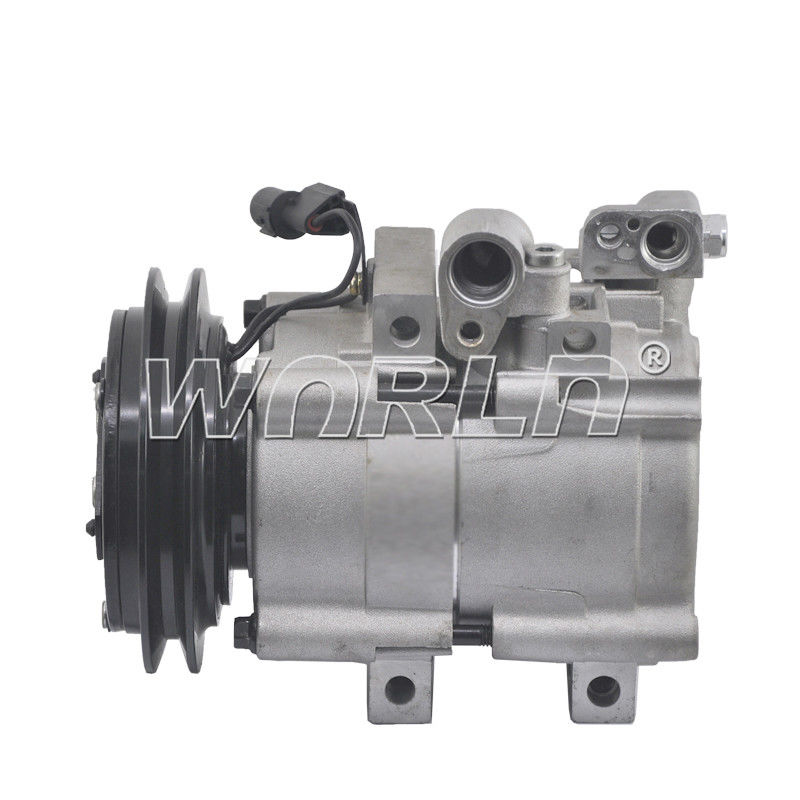
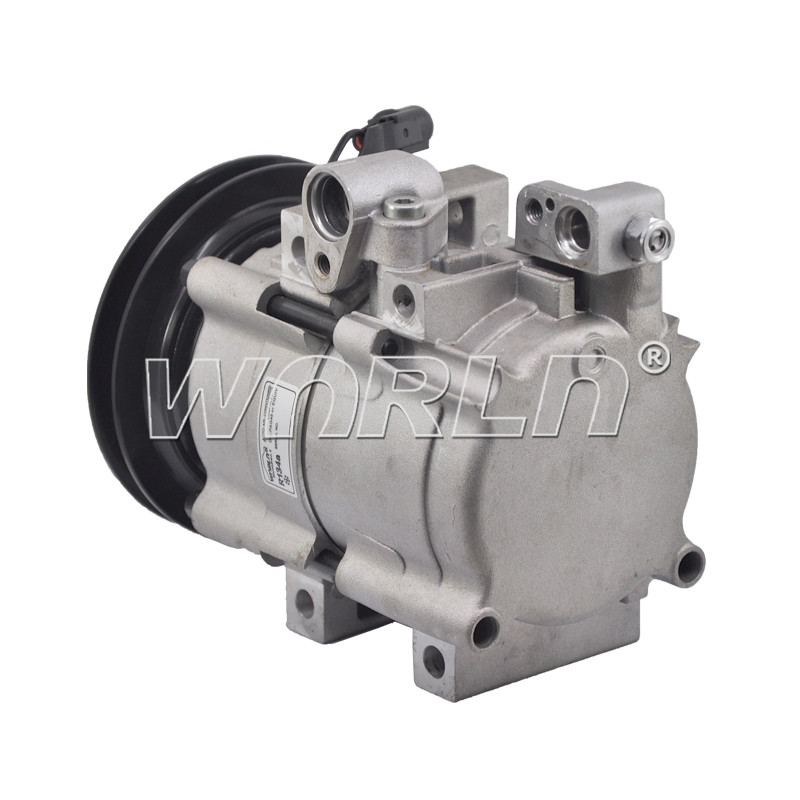
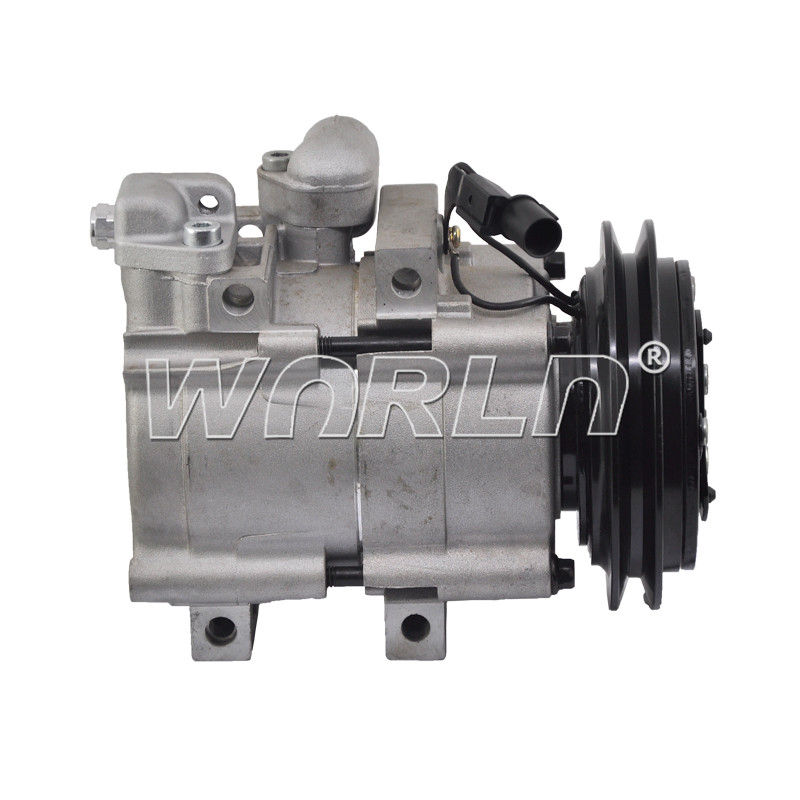
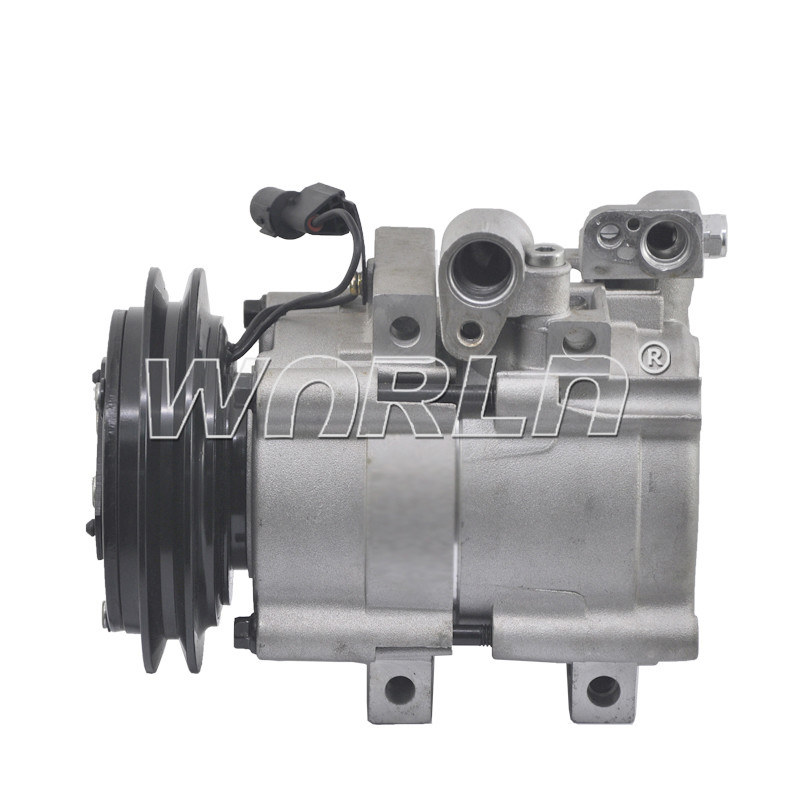
HS18 977014A071 Air Conditioner Automotive Compressor For Hyundai H1 For Starex 2.5TD WXHY009
| Model Number |
WXHY009
|
| Type |
Air Conditioner Compressor
|
| Car Model |
For Hyundai H1 For Starex 2.5TD
|
| Compressor model |
HS18 1A
|
| Year Model |
1997-2007
|
| OE No. |
977014A071/977014A300/977014A/977013E935/977014A020/977014A021/977014A050
|
![]()
![]()
Installation and Testing of Car Air Conditioning Compressors
Car air conditioning compressors play a critical role in the functioning of the air conditioning system. They are responsible for compressing the refrigerant, which cools the air inside the vehicle. Proper installation and regular testing of the compressor are essential to ensure optimal performance and longevity. In this guide, we will discuss the steps involved in the installation and testing of car air conditioning compressors.
Installation:
1. Preparation: Before starting the installation, make sure you have all the necessary tools and equipment. This includes a wrench, torque wrench, refrigerant recovery machine, vacuum pump, manifold gauge set, and a new compressor.
2. Safety measures: Ensure that the vehicle's engine is turned off and the battery is disconnected to prevent any accidents. Take necessary precautions to avoid contact with the refrigerant.
3. Remove the old compressor: Begin by removing the old compressor. This involves disconnecting the refrigerant lines, electrical connections, and mounting bolts. Be sure to properly label and seal the disconnected refrigerant lines to avoid refrigerant leakage.
4. Install the new compressor: Place the new compressor in the correct position, aligning it with the mounting holes. Use a torque wrench to tighten the mounting bolts according to the manufacturer's specifications.
5. Connect refrigerant lines: Connect the refrigerant lines to the new compressor. Ensure that the connections are tight and leak-free. Use a torque wrench to tighten the fittings to the recommended torque specifications.
6. Electrical connections: Reconnect the electrical connections to the compressor. Double-check the connections to make sure they are secure.
Testing:
1. Vacuum testing: Connect the vacuum pump to the low-pressure side of the refrigerant system using a manifold gauge set. Evacuate the system by running the vacuum pump for the recommended amount of time specified by the manufacturer. Monitor the gauge readings to ensure that the system holds a vacuum.
2. Leak testing: Once the vacuum is achieved, close the valves on the manifold gauge set and turn off the vacuum pump. Allow the system to sit for a period of time and monitor the gauge readings. If the gauge readings remain stable, it indicates that the system is leak-free. Any significant drop in gauge readings would suggest a refrigerant leak and require further investigation.
3. Operational testing: With the vacuum still intact, proceed to recharge the system with the appropriate amount of refrigerant. Start the engine and turn on the air conditioning. Monitor the compressor operation, including the clutch engagement and refrigerant pressure on the gauge set. Ensure that the compressor operates smoothly and provides the desired cooling effect.
4. Performance testing: Measure the air temperature at the vents using a thermometer. It should be significantly lower than the ambient temperature. If the cooling effect is not satisfactory, it may indicate an issue with the compressor or other components that require further diagnosis.
In conclusion, the proper installation and regular testing of car air conditioning compressors are crucial for maintaining optimal performance. By following the steps outlined above, you can ensure a successful installation and reliable operation of the compressor.
![]()
![]()
Enter Your Message
| Guangzhou Weixing Automobile Fitting Co.,Ltd. |
| Guangdong GUANGZHOU SHOP NO.24-25 ,15TH BLOG,JINYONGFU AUTO FITTINGS PLAZA NO.48 YONGFU ROAD,GUANGZHOU,CHINA |
| 86-20-87641190 |
| ling@gzweixing.com |