


Auto A/C Car Parts Compressor 38810RAAA01 For Honda Stream For Accord For Element CM2 WXHD008

Contact Person : ling
Phone Number : +8618022350039
WhatsApp : +8618022350039
| Minimum Order Quantity : | Negotiable | Price : | Negotiable |
|---|---|---|---|
| Packaging Details : | Neutral packing /WNRLN packing/Customized packing | Delivery Time : | 10-30 Days |
| Payment Terms : | Western Union, L/C, T/T, MoneyGram, PayPal | Supply Ability : | 5000pcs per month |
| Place of Origin: | Guangdong, China | Brand Name: | WNRLN |
|---|---|---|---|
| Certification: | SGS/ISO9001 | Model Number: | WXMS072 |
|
Detail Information |
|||
| Type: | AC Compressor | Car Make: | For Mitsubishi L200 Trition |
|---|---|---|---|
| Refrigerant: | 10P15C | Voltage: | 12V |
| Grooves: | 8PK | Size: | Standard Size |
| High Light: | 8PK Automotive Air Conditioning Compressor,L200 Automotive Air Conditioning Compressor,10P15C Auto AC Compressor |
||
Product Description
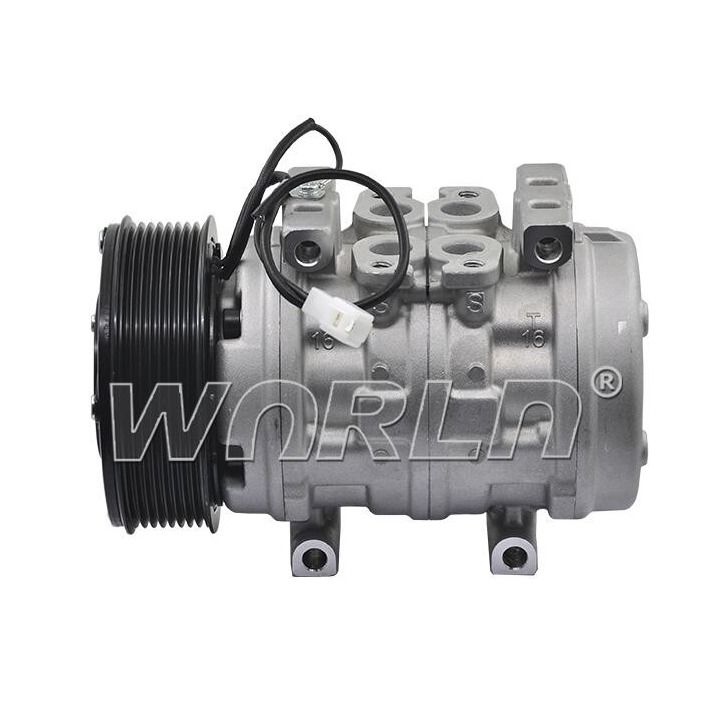
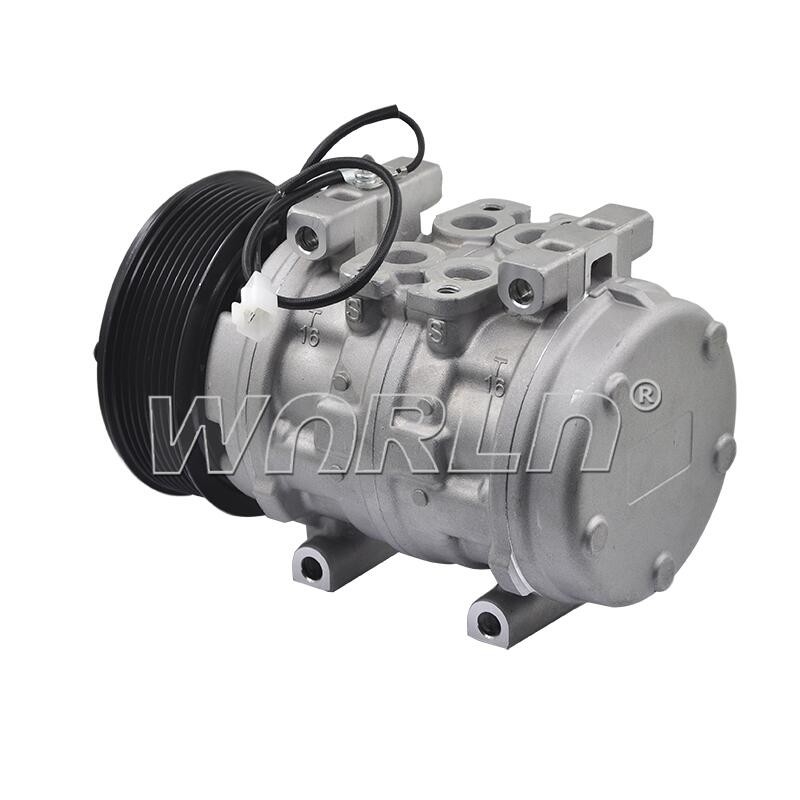
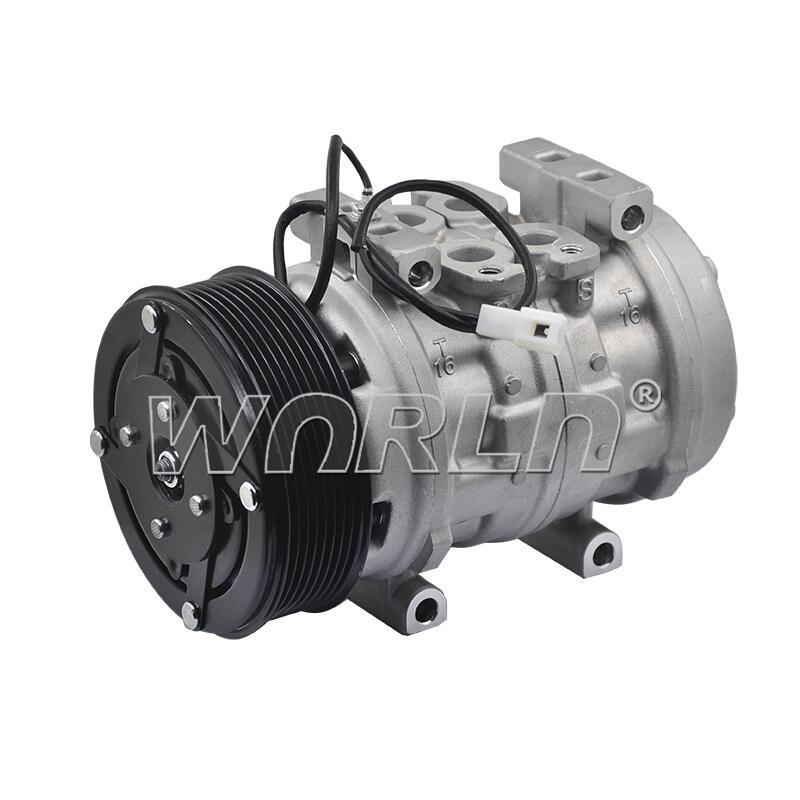
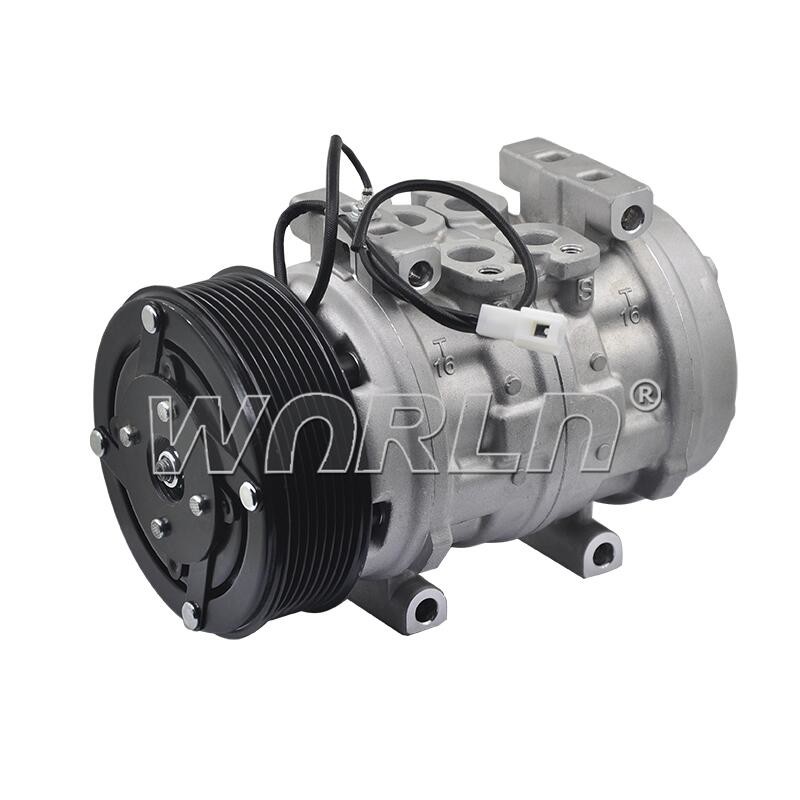
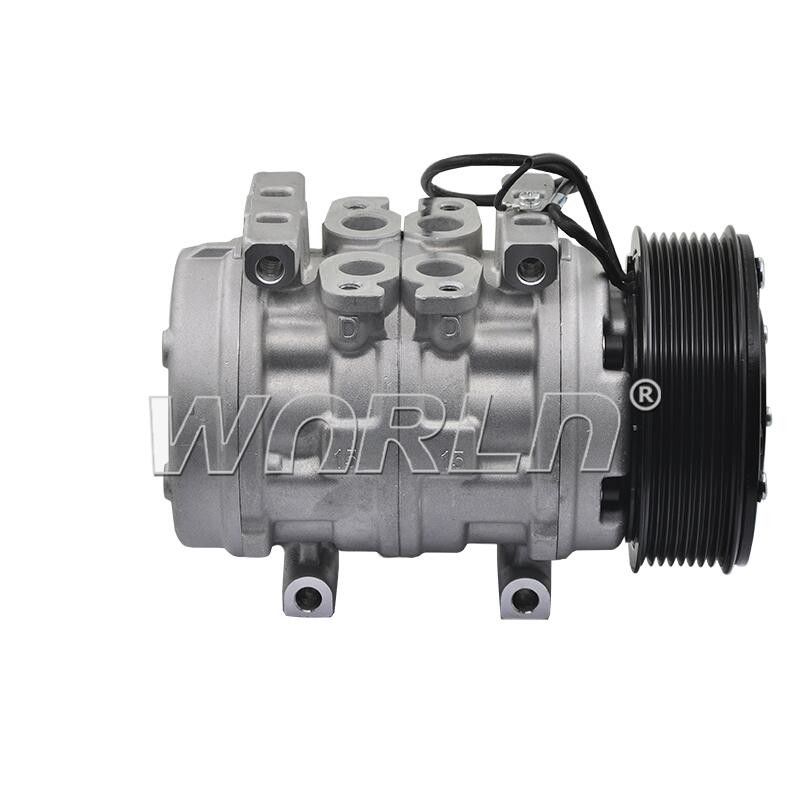
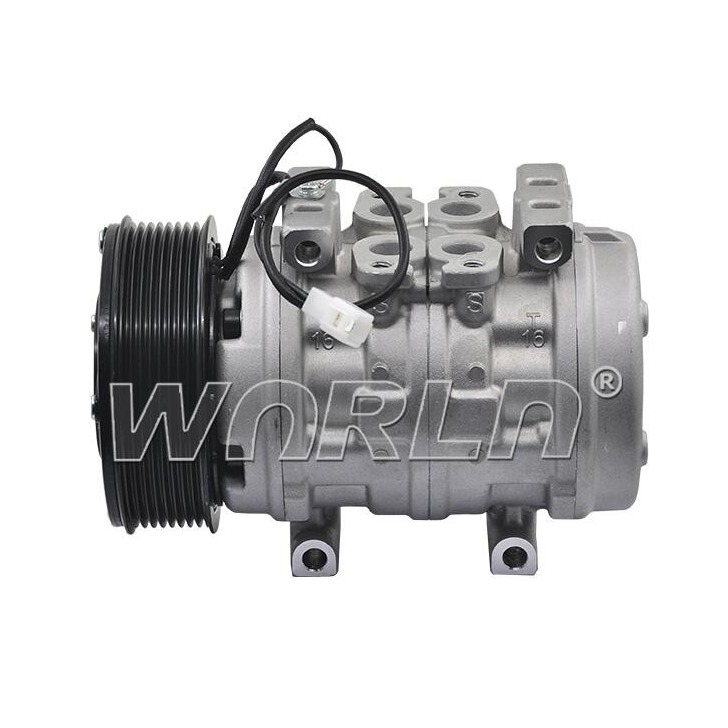
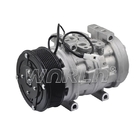
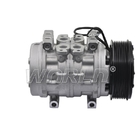
12V Automobile Conditioner Compressor 10P15C For Mitsubishi L200 Trition WXMS072
| Model Number |
WXMS072
|
| Car Make |
For Mitsubishi L200 Tritio
|
| Car Model |
10P15C
|
| Grooves |
8PK
|
| Voltage |
12V
|
| Note |
If you need assistance to make sure that this part will fit your vehicle.Please send us the photo of your old product .The OEM and/or the year,make model and engine size of your vehicle so that we may confirm it for you.We also recommend using the compatibility chart in order to make sure that this product will fit your vehicle.
|
![]()
![]()
Installing a car AC compressor can be a relatively complex process that involves several steps. Here's a general outline of the installation process:
1. Gather Necessary Tools and Equipment: Before you start, make sure you have all the required tools and equipment. This may include wrenches, sockets, ratchet, refrigerant recovery machine (if necessary), new compressor, new O-rings, PAG oil, manifold gauge set, vacuum pump, and safety equipment like gloves and goggles.
2. Prepare the Vehicle: Ensure the vehicle is parked on a flat surface and turned off. Open the hood and locate the AC compressor, which is typically driven by a belt connected to the engine.
3. Relieve Pressure: If the AC system has any remaining refrigerant, it needs to be evacuated using a refrigerant recovery machine. This should only be done by a certified technician with the proper equipment to handle refrigerants safely.
4. Remove the Old Compressor: Disconnect the negative terminal of the battery to prevent electrical accidents. Remove the serpentine belt from the compressor pulley. Disconnect any electrical connectors or mounting bolts securing the compressor to the engine. Carefully remove the old compressor from its mounting brackets.
5. Prepare the New Compressor: Before installing the new compressor, transfer any necessary components from the old compressor to the new one, such as mounting brackets, sensors, or pulleys. Make sure to replace any O-rings or seals with new ones to prevent leaks.
6. Install the New Compressor: Position the new compressor in place and secure it with mounting bolts. Reconnect any electrical connectors. Install the serpentine belt back onto the compressor pulley and ensure it's properly tensioned according to the manufacturer's specifications.
7. Recharge the AC System: Connect the manifold gauge set to the high and low-pressure ports on the AC system. Use a vacuum pump to remove any air and moisture from the system, creating a vacuum. Once the system is evacuated, close the valves on the manifold gauge set and wait to see if the system holds the vacuum. If it does, charge the system with the appropriate amount of refrigerant according to the manufacturer's specifications.
8. Check for Leaks and Functionality: After recharging the system, start the engine and turn on the AC. Check for any leaks around the compressor or other components using a UV dye or leak detection tool. Ensure that the AC system is cooling properly and that all functions are working correctly.
9. Final Checks: Double-check all connections, belts, and system pressures to ensure everything is installed correctly and functioning properly.
10. Reconnect Battery: Once everything is confirmed to be in working order, reconnect the negative terminal of the battery.
Enter Your Message
| Guangzhou Weixing Automobile Fitting Co.,Ltd. |
| Guangdong GUANGZHOU SHOP NO.24-25 ,15TH BLOG,JINYONGFU AUTO FITTINGS PLAZA NO.48 YONGFU ROAD,GUANGZHOU,CHINA |
| 86-20-87641190 |
| ling@gzweixing.com |