


Auto AC Compressor For VW Polo For Bora For Fox For Fabia For Seat 2001-2009 WXVW001

Contact Person : ling
Phone Number : +8618022350039
WhatsApp : +8618022350039


| Minimum Order Quantity : | Negotiable | Price : | Negotiable |
|---|---|---|---|
| Packaging Details : | Neutral packing /WNRLN packing/Customized packing | Delivery Time : | 10-30 days |
| Payment Terms : | Western Union, L/C, T/T, MoneyGram, PayPal | Supply Ability : | 50000pcs per month |
| Place of Origin: | Guangdong, China | Brand Name: | WNRLN |
|---|---|---|---|
| Certification: | SGS/ISO9001 | Model Number: | WXKA113 |
|
Detail Information |
|||
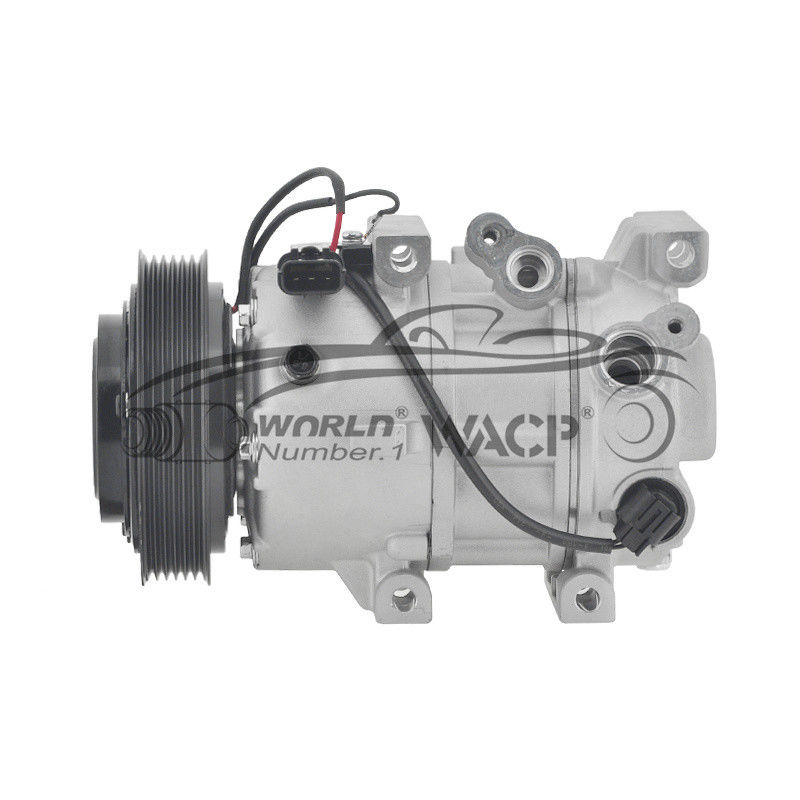
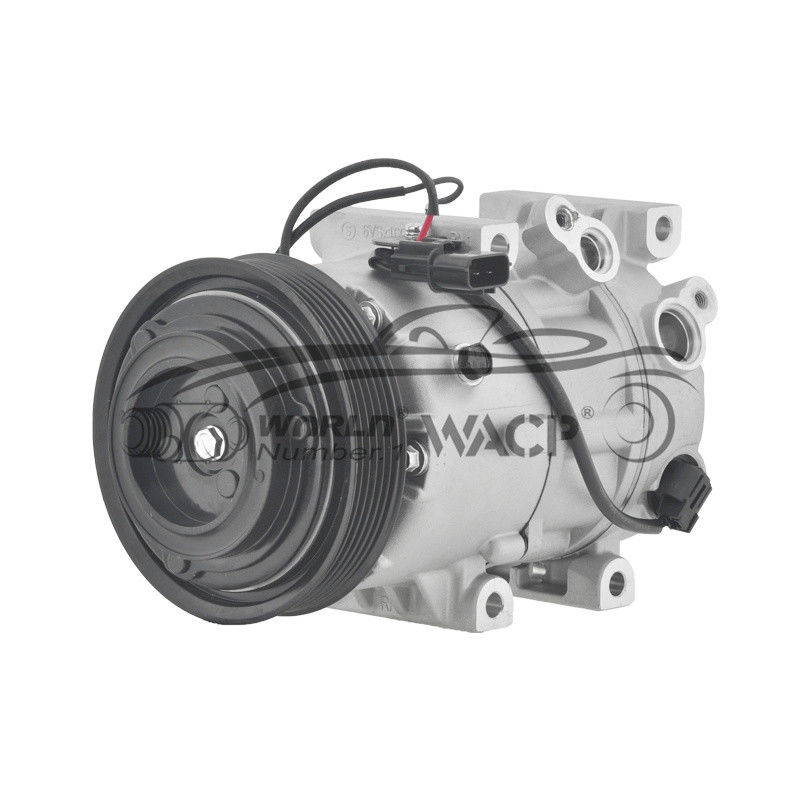
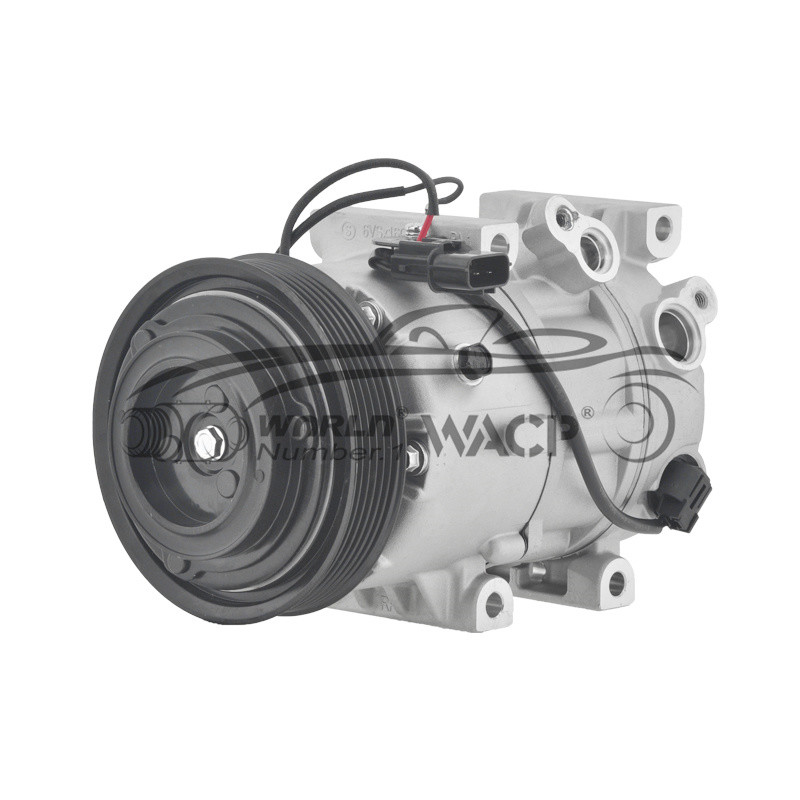
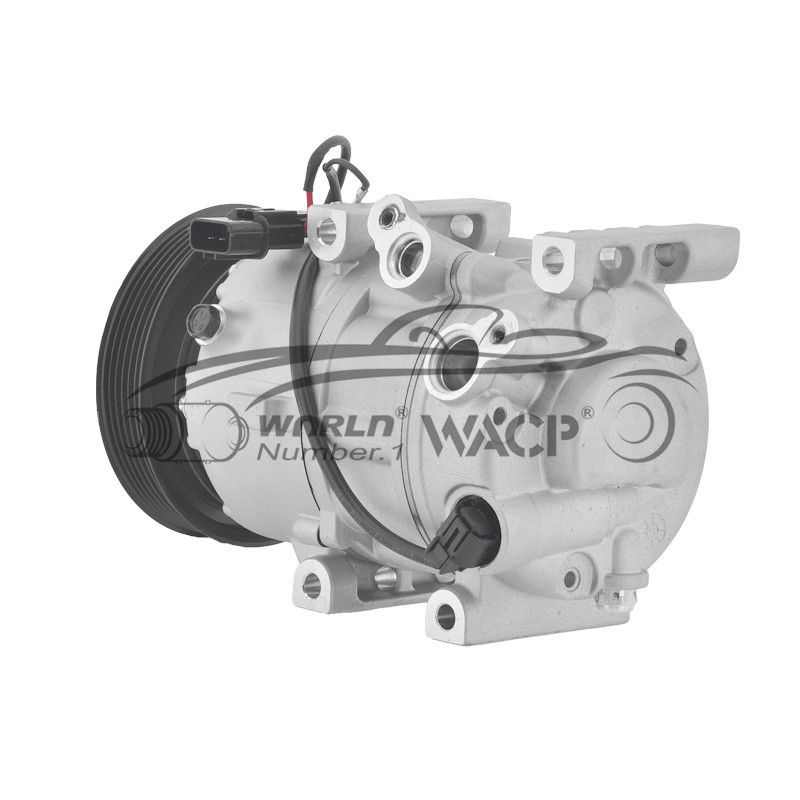
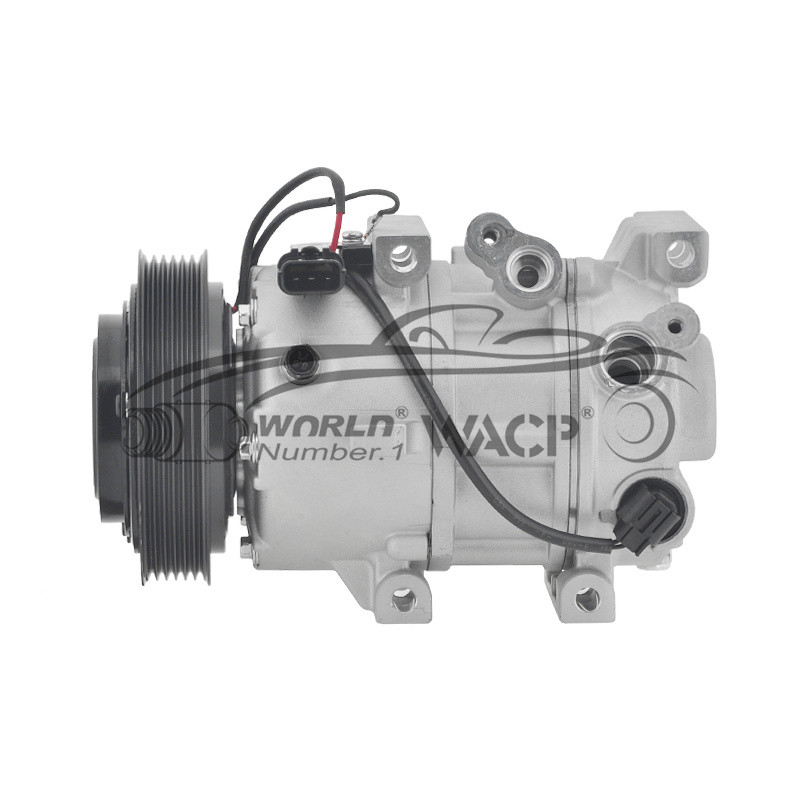
| Item No.: | WXKA113 | Car Make: | For Kia Sportage IV 1.6 |
|---|---|---|---|
| Voltage: | 12V | Size: | Standard Size |
| Grooves: | 6PK | Compressor Type: | VS16E |
| OEM: | 97701D7600/CA500NFJAA05/CA500NFJAA03 | ||
| High Light: | 6PK Car Air Compressor,VS16E Car Air Compressor,Iriz 2015-2022 Car Air Compressor |
||
Product Description
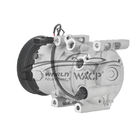
97701D7600 Car Air Compressor For VS16E 6PK For Iriz 2015-2022 WXKA113
Parameter:
|
Model Number
|
WXKA113
|
|
Car Model
|
For Kia Sportage IV 1.6
|
|
Type
|
Ac Compressor
|
|
Year Model
|
2015-2022
|
|
Compressor type
|
VS16E
|
|
OE NO.
|
97701D7600/CA500NFJAA05/CA500NFJAA03
|
![]()
![]()
Troubleshooting and DIY Checks
Performing basic checks and troubleshooting for common AC problems can help identify issues and potentially resolve them. However, it’s important to prioritize safety and consult a professional technician if needed. Here is a step-by-step guide to troubleshooting and performing DIY checks on your car AC system:
1.Safety First: Before starting any checks, ensure that the engine is off, the car is in a well-ventilated area, and the AC controls are set to off.
2.Inspect Fuses: Begin by checking the AC system’s fuses. Locate the fuse box, usually found in the engine compartment or under the dashboard. Refer to the owner’s manual or fuse box cover for the specific AC fuse location. Inspect the fuse visually to see if it’s blown or damaged. If you find a blown fuse, replace it with a new one of the same rating.
3.Check Refrigerant Levels: Insufficient refrigerant levels can result in reduced cooling performance. Locate the low-pressure port of the AC system, usually marked with an “L” or labeled as low-side. Attach a pressure gauge to the port and check the reading. If the pressure is below the recommended level, it may indicate a refrigerant leak. In such cases, it’s best to consult a professional technician for further diagnosis and repair.
4.Inspect the HVAC system's components for any visible signs of damage or leaks. Begin with the compressor, located near the engine. Look for oil stains or refrigerant residue, which can indicate a leak. Next, examine the condenser, usually positioned in front of the radiator. Check for bent fins or debris that may block airflow. Also, inspect the HVAC hoses for any cracks or leaks. If you notice significant damage or suspect a leak, it is advisable to seek professional help.
5.Test the HVAC System: Start the engine and turn on the HVAC to its maximum setting. Observe the system's behavior. Pay attention to the airflow from the vents, the air temperature, and any unusual noises. Weak airflow or warm air could indicate a problem with the blower motor, cabin air filter, or ductwork. Strange noises may point to a faulty fan or compressor. Unpleasant odors could be a sign of mold or bacterial growth. If you encounter any of these issues, it is recommended to consult a professional technician for a detailed inspection.
6.Recharge the HVAC System (if applicable): Some HVAC systems may require recharging if the refrigerant level is low. It is important to note that handling refrigerant requires specific equipment and expertise. If you believe a recharge is necessary, it is recommended to consult a qualified technician to ensure proper procedures are followed.
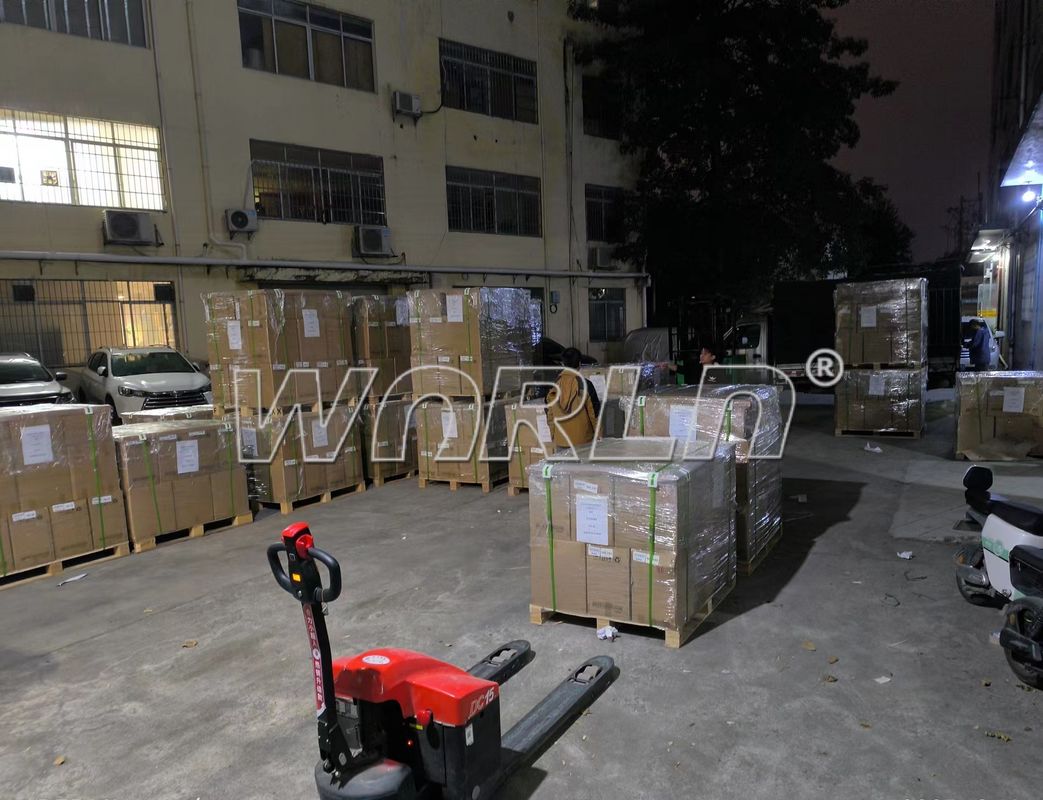
Delivery/ Shop
![]()
![]()
Installation and Testing of Car Air Conditioning Compressors
Car air conditioning compressors play a critical role in the functioning of the air conditioning system. They are responsible for compressing the refrigerant, which cools the air inside the vehicle. Proper installation and regular testing of the compressor are essential to ensure optimal performance and longevity. In this guide, we will discuss the steps involved in the installation and testing of car air conditioning compressors.
Installation:
1. Preparation: Before starting the installation, make sure you have all the necessary tools and equipment. This includes a wrench, torque wrench, refrigerant recovery machine, vacuum pump, manifold gauge set, and a new compressor.
2. Safety measures: Ensure that the vehicle's engine is turned off and the battery is disconnected to prevent any accidents. Take necessary precautions to avoid contact with the refrigerant.
3. Remove the old compressor: Begin by removing the old compressor. This involves disconnecting the refrigerant lines, electrical connections, and mounting bolts. Be sure to properly label and seal the disconnected refrigerant lines to avoid refrigerant leakage.
4. Install the new compressor: Place the new compressor in the correct position, aligning it with the mounting holes. Use a torque wrench to tighten the mounting bolts according to the manufacturer's specifications.
5. Connect refrigerant lines: Connect the refrigerant lines to the new compressor. Ensure that the connections are tight and leak-free. Use a torque wrench to tighten the fittings to the recommended torque specifications.
6. Electrical connections: Reconnect the electrical connections to the compressor. Double-check the connections to make sure they are secure.
Testing:
1. Vacuum testing: Connect the vacuum pump to the low-pressure side of the refrigerant system using a manifold gauge set. Evacuate the system by running the vacuum pump for the recommended amount of time specified by the manufacturer. Monitor the gauge readings to ensure that the system holds a vacuum.
2. Leak testing: Once the vacuum is achieved, close the valves on the manifold gauge set and turn off the vacuum pump. Allow the system to sit for a period of time and monitor the gauge readings. If the gauge readings remain stable, it indicates that the system is leak-free. Any significant drop in gauge readings would suggest a refrigerant leak and require further investigation.
3. Operational testing: With the vacuum still intact, proceed to recharge the system with the appropriate amount of refrigerant. Start the engine and turn on the air conditioning. Monitor the compressor operation, including the clutch engagement and refrigerant pressure on the gauge set. Ensure that the compressor operates smoothly and provides the desired cooling effect.
4. Performance testing: Measure the air temperature at the vents using a thermometer. It should be significantly lower than the ambient temperature. If the cooling effect is not satisfactory, it may indicate an issue with the compressor or other components that require further diagnosis.
In conclusion, the proper installation and regular testing of car air conditioning compressors are crucial for maintaining optimal performance. By following the steps outlined above, you can ensure a successful installation and reliable operation of the compressor.
Enter Your Message
| Guangzhou Weixing Automobile Fitting Co.,Ltd. |
| Guangdong GUANGZHOU SHOP NO.24-25 ,15TH BLOG,JINYONGFU AUTO FITTINGS PLAZA NO.48 YONGFU ROAD,GUANGZHOU,CHINA |
| 86--15711846174-13501538062 |
| ling@gzweixing.com |